The TMS provides support to extend component support to Gmail or Outlook users for easily transferring email information into Revenova components. Once configured, the following components are available to perform TMS tasks directly in a user’s Gmail or Outlook email inbox.
Customers using the Outlook integration
The specific Revenova-built user interface components and API connections used in this integration have successfully passed our QA test cycle. However, we were unable to satisfactorily test the Outlook integration. Customers wanting to take advantage of the integration should configure and test the Outlook integration prior to activating in their production environment.
Before continuing, review the specific Salesforce organization email requirements for the Gmail or Outlook integrations.
Complete the following setup to access TMS components within email inboxes.
Setup
Enable Email Integrations
The Revenova TMS supports the Salesforce integrations for Gmail and Outlook. View the linked Salesforce documentation for more information.
Enable the Gmail and/or Outlook integrations within the customer Salesforce instance.
Navigate to Setup → Gmail Integration and Sync.
Enable the Gmail Integration.
Navigate to Setup → Outlook Integration and Sync.
Enable the Outlook Integration.
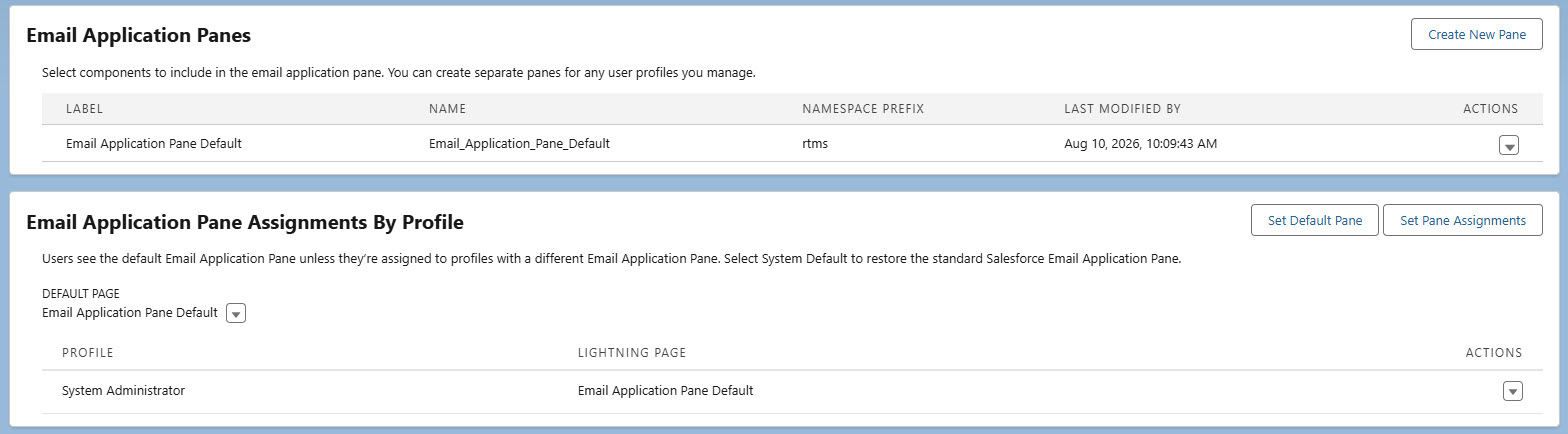
Create an Email Action Pane that includes the desired components. Configure the Email Action Pane by adding the Revenova components as necessary.
Assign the new page to the appropriate profiles or set as the Org Default. An Email Pane assigned for the System Administrator is shown below.
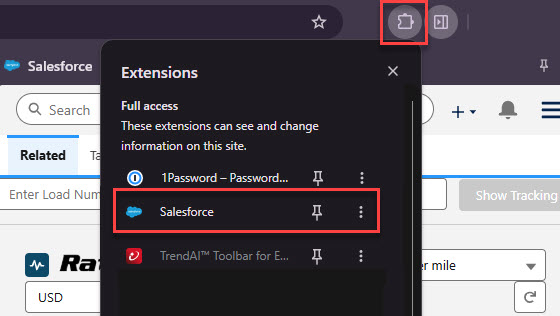
Chromium/Google Chrome users must install the Salesforce extension from the Chrome Web Store.
Choose the Salesforce extension from the puzzle piece icon to open the extension.
When prompted, enter the User Salesforce credentials on the Email Action Pane.
Click the Salesforce extension button to expand the Email Action Pane.
Component Functionality
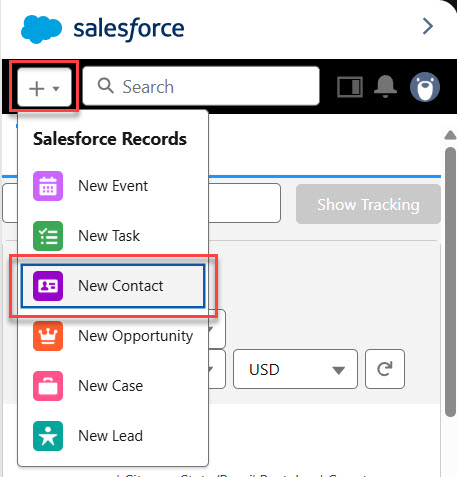
Create new Contact records with the + button located at the top of the Email Action Pane. Select New Contact to view record details that are automatically populated with email message values including First Name, Last Name, and Email. Enter additional fields as required.
Customer Shipment Tracking
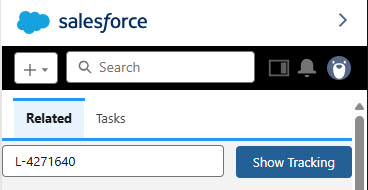
Enter a Load Number and click the Show Tracking button to view the available tracking information for the entered Load.
RateIQ
Enter Lane information to quickly view the Load cost breakdown and suggested markups. Users may create Load records directly from the component in the email inbox. Resize the Email Pane to view the component.
.jpg)
Text to Load
Open the email to automatically enter email body text into the Text to Load LWC. Text from the top email in the thread is automatically populated into the component. The sender email address is matched to a Contact and Account in the TMS and populated in the quote request fields on the component.
In cases when an email address does not match to a Contact in the TMS, search for existing records or create a new Contact record with the + button.
When the Send Customer Email field is Checked, the customer receives an email with the confirmed Load configuration.
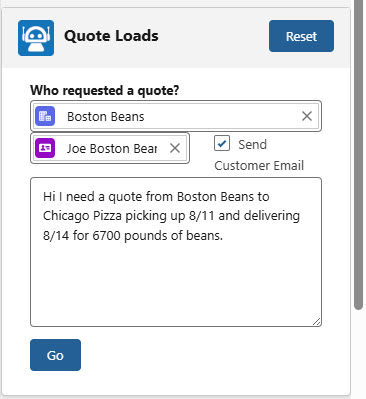
Click Reset to clear the email text from the component.
The Go button initiates the Artimus™ AI workflow to create the Load record(s) and begin any configured automation in the TMS.
Text to Truck Posting
Open the email to automatically enter email body text into the Text to Truck Posting LWC. Text from the top email in the thread is automatically populated into the component. The sender email address is matched to a Contact and Carrier Service in the TMS and populated in the Truck Posting fields on the component.
The sender email address is used to match to a Contact and the associated Account emailing an available truck posting. A search is completed to match the email address to a Carrier Service associated with an Account. Only Carrier Services of Service Type Carrier are searched.
The Default Carrier Mode field value set under TMS Admin → Configuration is first used to determine the Carrier Service with that Mode value. If no value is present, the first Carrier Service listed is returned.
In cases when an email address does not match to a Contact in the TMS, create a new Contact record with the + button.
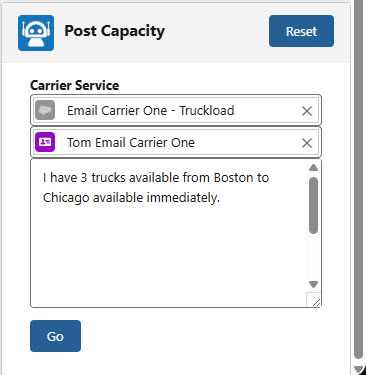
Click Reset to clear the email text from the component.
The Go button initiates the Artimus™ AI workflow to create the Truck Posting record(s) and begin any configured automation in the TMS.